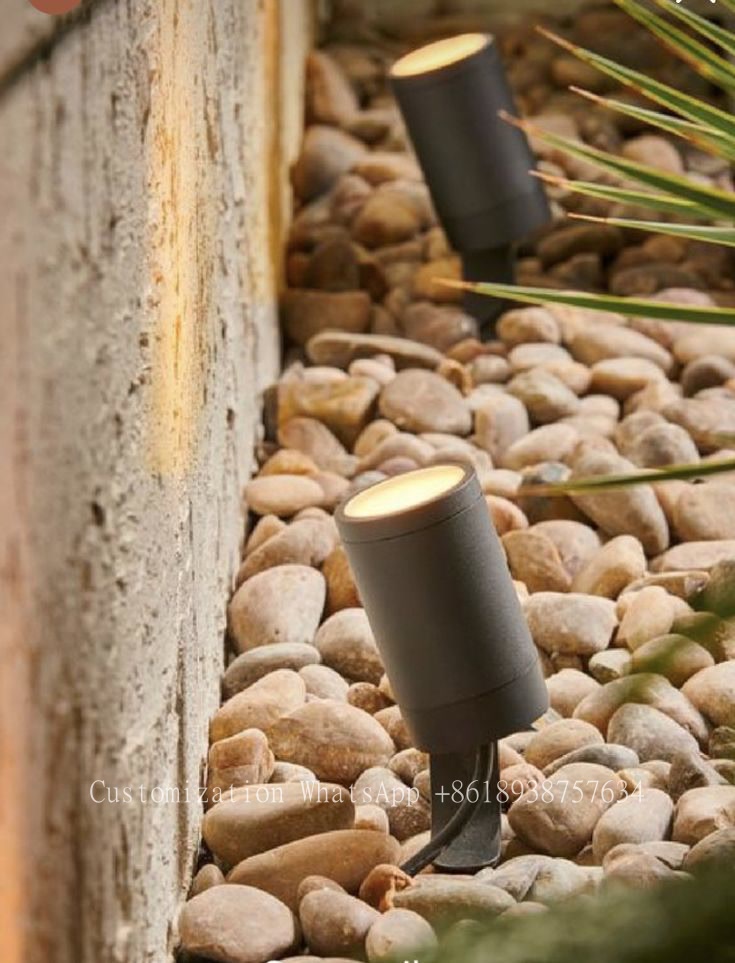
Step-by-Step Guide to Installing an Outdoor Post Light
Step-by-Step Guide to Installing an Outdoor Post Light
Introduction
Are you looking to enhance the beauty and functionality of your outdoor space? Installing an outdoor post light can significantly improve your landscape's ambiance while ensuring safety. Whether you're illuminating a walkway, garden, or patio, this step-by-step guide to installing an outdoor post light will provide you with everything you need to get started. From selecting the right light fixture to the installation process, we’ve got you covered!
Why Install outdoor post lights?
outdoor post lights not only serve a practical purpose but also add aesthetic appeal to your property. Here are a few key benefits:
- Safety: Proper lighting helps prevent accidents and enhances security.
- Aesthetics: Post lights can highlight landscaping features and create a welcoming atmosphere.
- Property Value: Well-lit outdoor areas can increase your property’s market value.

Choosing the Right Outdoor Post Light
Before diving into the installation, it's crucial to choose the right post light for your needs. Consider the following factors:
| Factor | Description |
| Style | Select a design that complements your home's architecture. |
| Height | Standard post lights are typically between 3 to 8 feet tall. |
| Material | Common materials include aluminum, stainless steel, and plastic. |
| Power Source | Choose between solar-powered, battery-operated, or wired options. |
| Brightness | Look for lumens rating to ensure adequate lighting for your space. |
Tools and Materials Needed
To successfully install an outdoor post light, you’ll need the following tools and materials:
- Outdoor post light fixture
- Post anchor or concrete base
- Wire connectors
- Electric wire (if applicable)
- Drill
- Shovel (for dig-in installations)
- Level
- Measuring tape
- Protective gloves and eyewear
Step-by-Step Installation Process
Step 1: Plan the Installation Location
Choose where you want to install your outdoor post light. Ensure the location is away from any obstructions like trees or fences. Consider the visa-view and how it will interact with your existing landscaping.
Step 2: Gather Tools and Materials
Have all your tools and materials ready to avoid interruptions during installation. This will keep the process smooth and less time-consuming.
Step 3: Prepare the Ground
If you're installing a permanent fixture, you may need to dig a hole for the post. The size of the hole should typically be about two feet deep and one foot wide. This allows for a stable base and proper drainage.
Step 4: Assemble the Post Light
Follow the manufacturer’s instructions to assemble the post light. This may involve attaching the light fixture to a pole or base. Ensure everything is securely fastened.
Step 5: Install the Base
You can either use a post anchor for above-ground installations or set the post in concrete for in-ground installations. If using concrete, mix it according to the instructions and pour it into the hole, placing the post in it. Ensure it's level.
Step 6: Make Electrical Connections
If your outdoor post light is wired, run the electrical wire from your power source to the post. Connect the wires according to the manufacturer's instructions, ensuring connections are safe and secure. Always prioritize safety by turning off the power before making connections.
Step 7: Test the Light
Once you've made all connections and the concrete (if used) has set, turn the power back on. Test the light to ensure it’s functioning correctly. If it's solar-powered, make sure it has adequate sunlight exposure.
Step 8: Final Adjustments
Make any necessary adjustments to the post light’s angle and height. This might involve simply loosening screws or bolts and realigning it as needed.
Maintenance Tips for Your Outdoor Post Light
Once your outdoor post light is installed, keep it looking great and functioning well with the following maintenance tips:
- Regular Cleaning: Wipe down the fixture with a soft cloth to remove dirt and debris.
- Check Bulbs: Regularly inspect and replace bulbs as needed to maintain brightness.
- Inspect Wiring: Periodically check the wiring for any signs of wear or damage.
- Seasonal Maintenance: After severe weather, check the light for any necessary repairs.
Conclusion
Installing an outdoor post light is a rewarding DIY project that can greatly enhance your home's exterior. By following this step-by-step guide to installing an outdoor post light, you can achieve a functional and beautiful addition to your outdoor space. Remember to choose the right light, properly prepare for installation, and maintain it regularly to ensure lasting performance. With these tips and guidelines, your outdoor area will be safe and inviting for years to come!
Additional Considerations
Before beginning your installation, always check local codes and regulations regarding Outdoor lighting. Some areas may have restrictions on light levels or specific installations. Lastly, feel free to explore design options, as there are various styles and designs available to match your personal aesthetic and home style.
